Why Hard Water Makes Water Softener Installation One of the Best Home Upgrades You Can Make
Water softener installation is one of the most effective ways to protect your home’s plumbing, extend the life of your appliances, and improve your daily quality of life. If you’re dealing with white crusty buildup on your faucets, filmy shower doors, or laundry that never quite feels clean, hard water is almost certainly the cause.
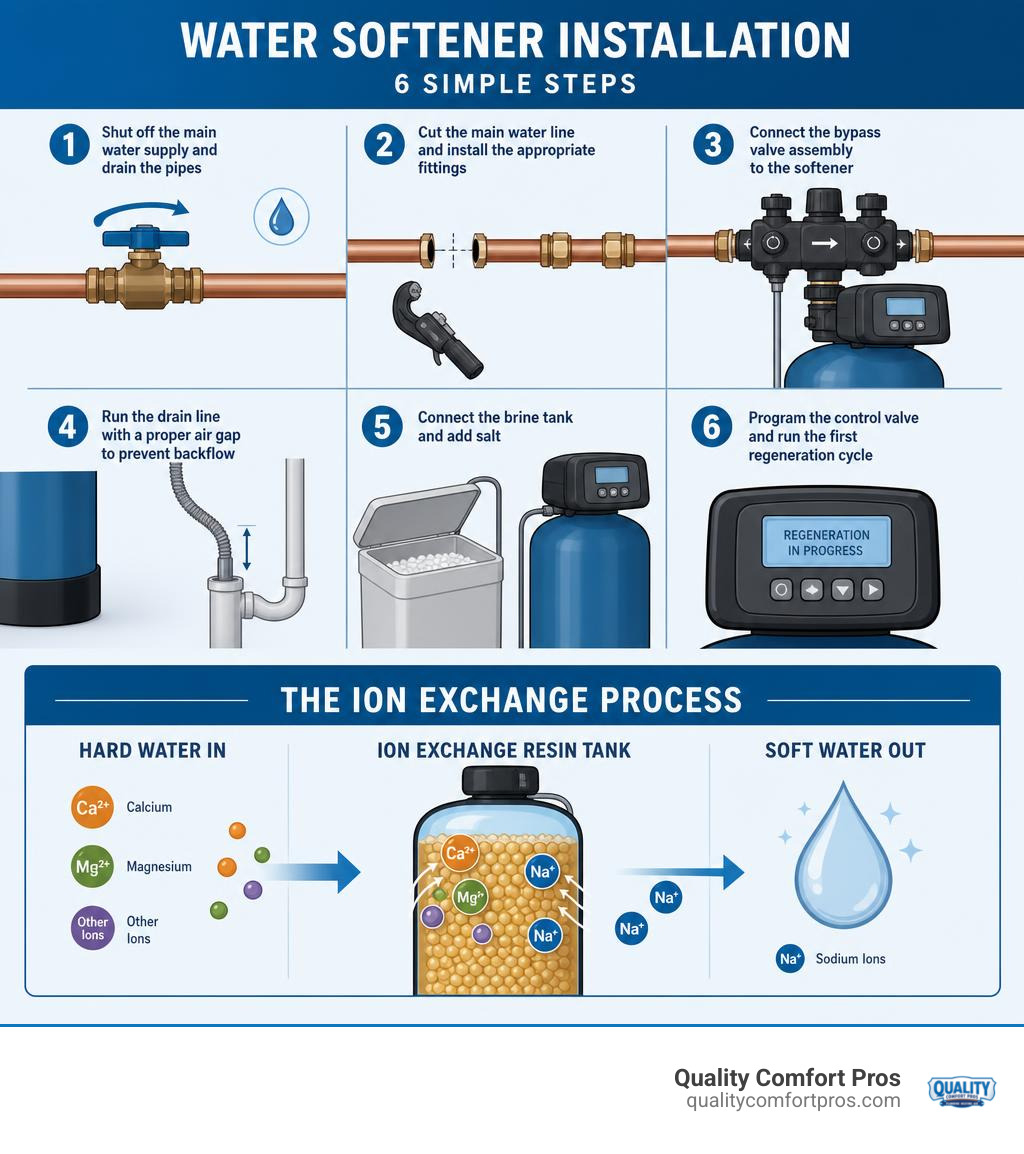
Here’s a quick overview of how to install a water softener in 6 steps:
- Shut off the main water supply and drain the pipes
- Cut the main water line and install the appropriate fittings
- Connect the bypass valve assembly to the softener
- Run the drain line with a proper air gap to prevent backflow
- Connect the brine tank and add salt
- Program the control valve and run the first regeneration cycle
Hard water affects approximately 85% of homes across the United States, with water above 7 grains per gallon (GPG) known to cause scale buildup that can reduce appliance lifespan by up to 30%. According to the U.S. Geological Survey, water hardness is primarily caused by dissolved calcium and magnesium minerals. In Northern Michigan, hard water is especially common, making this a practical concern for many local homeowners rather than just a minor inconvenience.
The good news is that a properly installed water softener addresses these problems at the source. Whether you’re considering a DIY approach or thinking about hiring a professional, understanding the full process helps you make the right call for your home and budget. Pricing can vary depending on several factors, including the size and type of system and the complexity of your existing plumbing.
I’m JD Osman, and as the owner of Quality Comfort Pros with over 20 years of experience in home services and customer solutions, I’ve seen how proper water softener installation transforms homes across Northern Michigan. In this guide, I’ll walk you through everything you need to know to get it done right.
Understanding Water Softener Types and Sizing
Before you begin cutting pipes or purchasing equipment, you must understand the technology behind water softening and how to choose the right system for your home. Water softeners are not one-size-fits-all appliances. Installing a system that is too small will result in frequent regeneration cycles, wasted water, and premature wear, while an oversized system is an unnecessary upfront expense.
To make an informed decision, you should first learn more about water quality and how hard water minerals interact with your plumbing.
Most whole-house systems rely on ion exchange, a chemical process where calcium and magnesium ions (the minerals that cause hard water) are swapped for sodium or potassium ions. This process takes place inside a mineral tank filled with thousands of tiny, negatively charged plastic resin beads. Because calcium and magnesium have a strong positive charge, they cling to the resin beads as hard water flows through the tank, leaving the water beautifully soft.
| System Feature | Salt-Based Systems | Salt-Free Systems |
|---|---|---|
| Primary Technology | Ion exchange using resin beads | Template crystallization (TAC) |
| Mineral Removal | Physically removes calcium and magnesium | Alters mineral structure to prevent scale |
| Wastewater Produced | Yes, during regeneration cycles | No wastewater |
| Power Required | Yes, for the digital control valve | No electrical connection needed |
| Maintenance | Regular salt refills and annual cleaning | Media replacement every 3 to 5 years |
| Water Feel | Distinctly smooth, slick, and lather-friendly | Normal water feel, no slickness |
Choosing the Right Capacity for Your Water Softener Installation
Sizing a water softener is a precise mathematical calculation based on two primary factors: your household’s daily water usage and the hardness of your water supply. Water hardness is measured in grains per gallon (GPG).
To calculate your required grain capacity, use this standard industry formula:
- Determine daily water usage: The average person uses approximately 75 gallons of water per day. Multiply the number of people in your household by 75. For a family of four, this is 300 gallons per day (4 people x 75 gallons).
- Determine daily grains to remove: Multiply your daily water usage by your water hardness in GPG. If your water hardness is 10 GPG, your system must remove 3,000 grains of hardness per day (300 gallons x 10 GPG).
- Calculate weekly capacity: To prevent the system from regenerating too frequently, it should ideally regenerate once every 7 to 10 days. Multiply your daily grains by 7. In this example, you need a system with a minimum capacity of 21,000 grains (3,000 grains x 7 days).
For a detailed breakdown of how capacity affects your system’s long-term performance, you can consult this how to install a water softener: sizing & setup guide.
Selecting Salt-Based vs. Salt-Free Systems
Salt-based systems are the traditional gold standard for true water softening. They physically remove minerals, protect your pipes from internal scaling, and allow soaps to lather beautifully. However, they require a brine tank, regular salt refills, and periodic cleaning to prevent salt bridges.
Salt-free systems, often called water conditioners, do not actually soften water. Instead, they use template-assisted crystallization to alter the physical structure of the minerals so they cannot stick to your pipes or appliances. While they are lower maintenance and do not use salt, they will not give you the luxurious, slick feel of softened water on your skin and hair. If you are unsure which technology fits your home best, you can explore our water filtration options to compare different treatment methods.
Pre-Installation Planning and Preparation
A successful water softener installation begins long before you pick up a pipe cutter. Proper preparation ensures that your system functions efficiently and complies with all local plumbing and building codes in Northern Michigan.
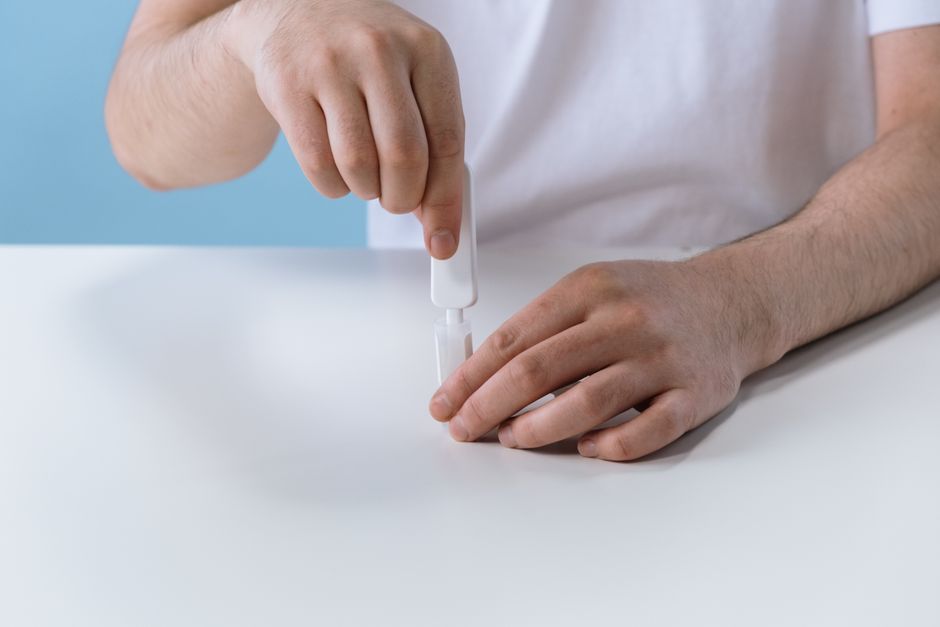
First, you must perform a comprehensive water test. A basic test will reveal your water’s GPG hardness rating, but you should also test for iron content. Ferrous iron (clear-water iron) can damage the resin beads in your softener over time. If your water contains iron, you will need to adjust your system’s hardness settings upward, adding 4 GPG to your hardness calculation for every 1 part per million (PPM) of iron detected. To ensure absolute accuracy, you can schedule a professional water quality test with our team.
Next, you must choose the perfect installation location. The ideal spot must meet several strict criteria:
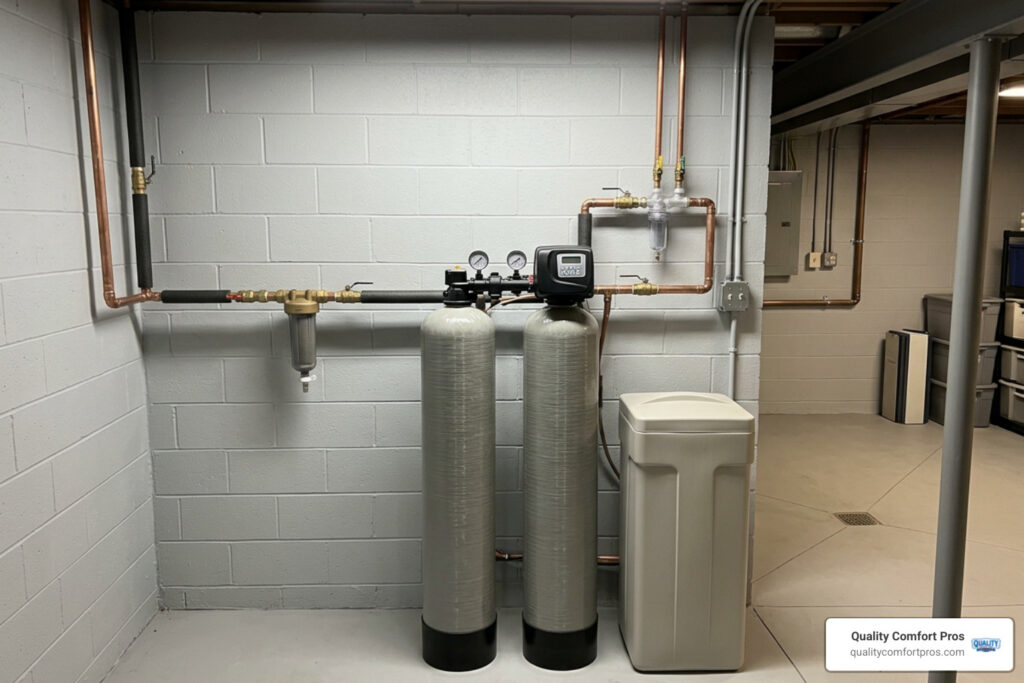
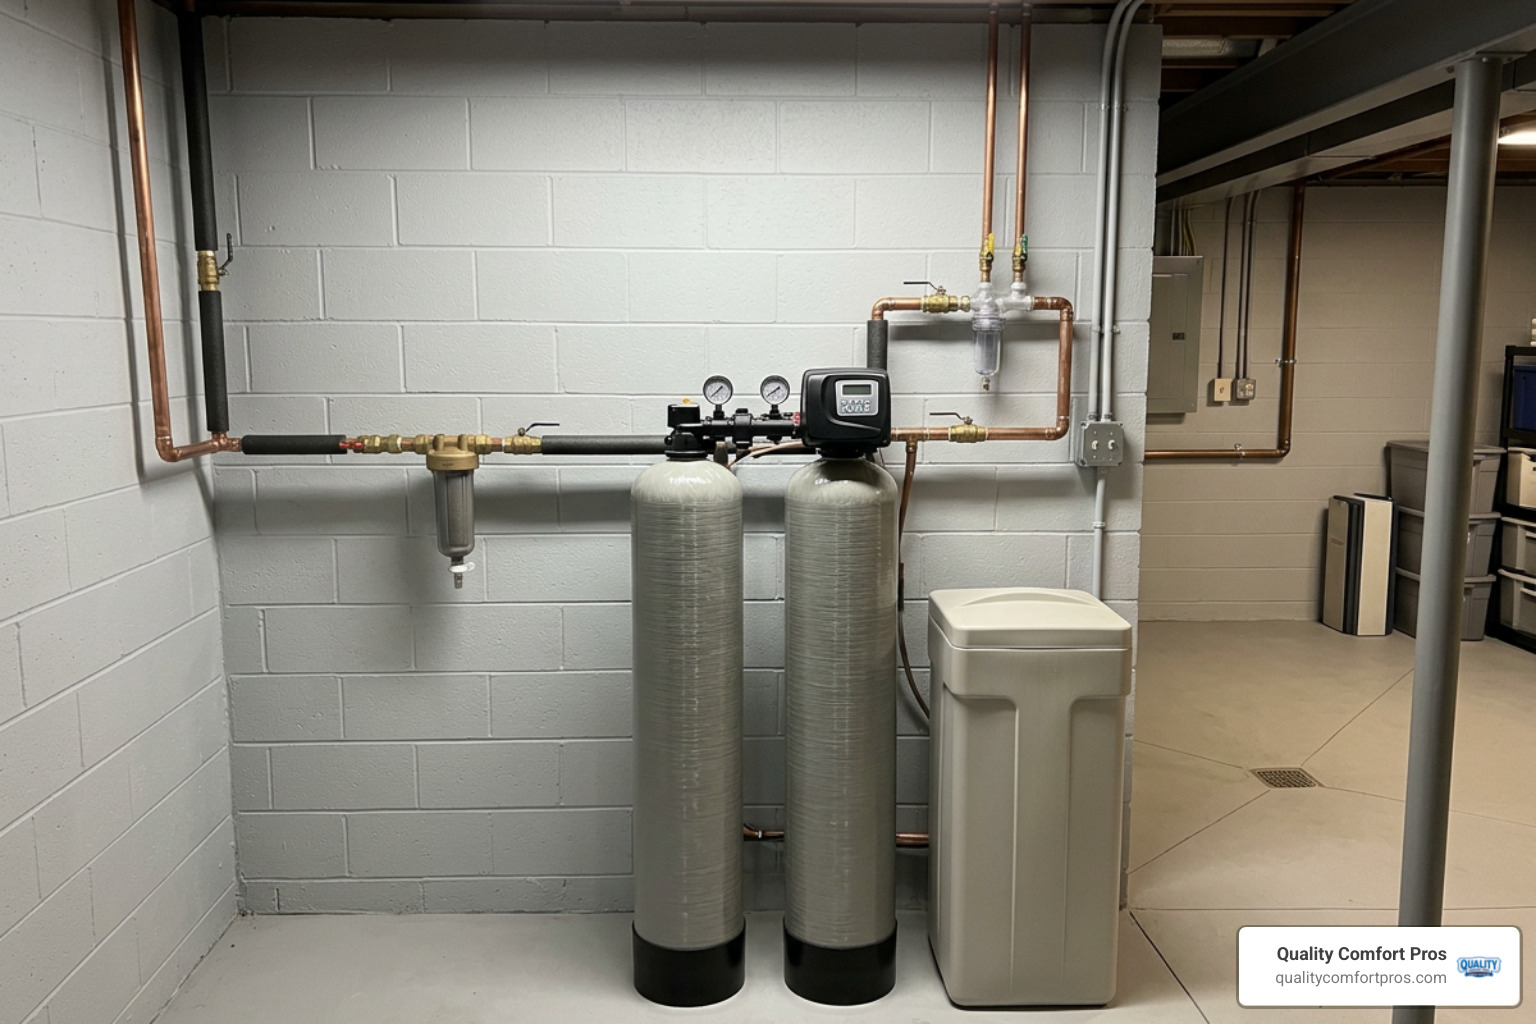
- Proximity to the main water line: The system must be installed after your main water shutoff valve but before the water line splits into your water heater or home plumbing. This ensures that both your hot and cold water are softened, while protecting your water heater from scale buildup.
- Temperature control: The area must be dry, level, and protected from freezing temperatures. Freezing water will crack the plastic control valves and ruin the mineral tank.
- Access to a drain: The system needs a nearby drain, such as a floor drain, standpipe, or utility sink, to discharge wastewater during the regeneration cycle.
- Electrical outlet: A standard, dedicated 120-volt grounded outlet is required to power the digital control valve.
How to Complete a DIY Water Softener Installation
If you are comfortable with basic plumbing, have a steady hand, and can carefully follow step-by-step instructions, installing a water softener can be a rewarding DIY project. However, working with your home’s primary water lines carries inherent risks of leaks, water damage, and electrical hazards. If you lack experience with pipe cutting or soldering, we strongly advise seeking professional assistance to ensure a safe, code-compliant setup.
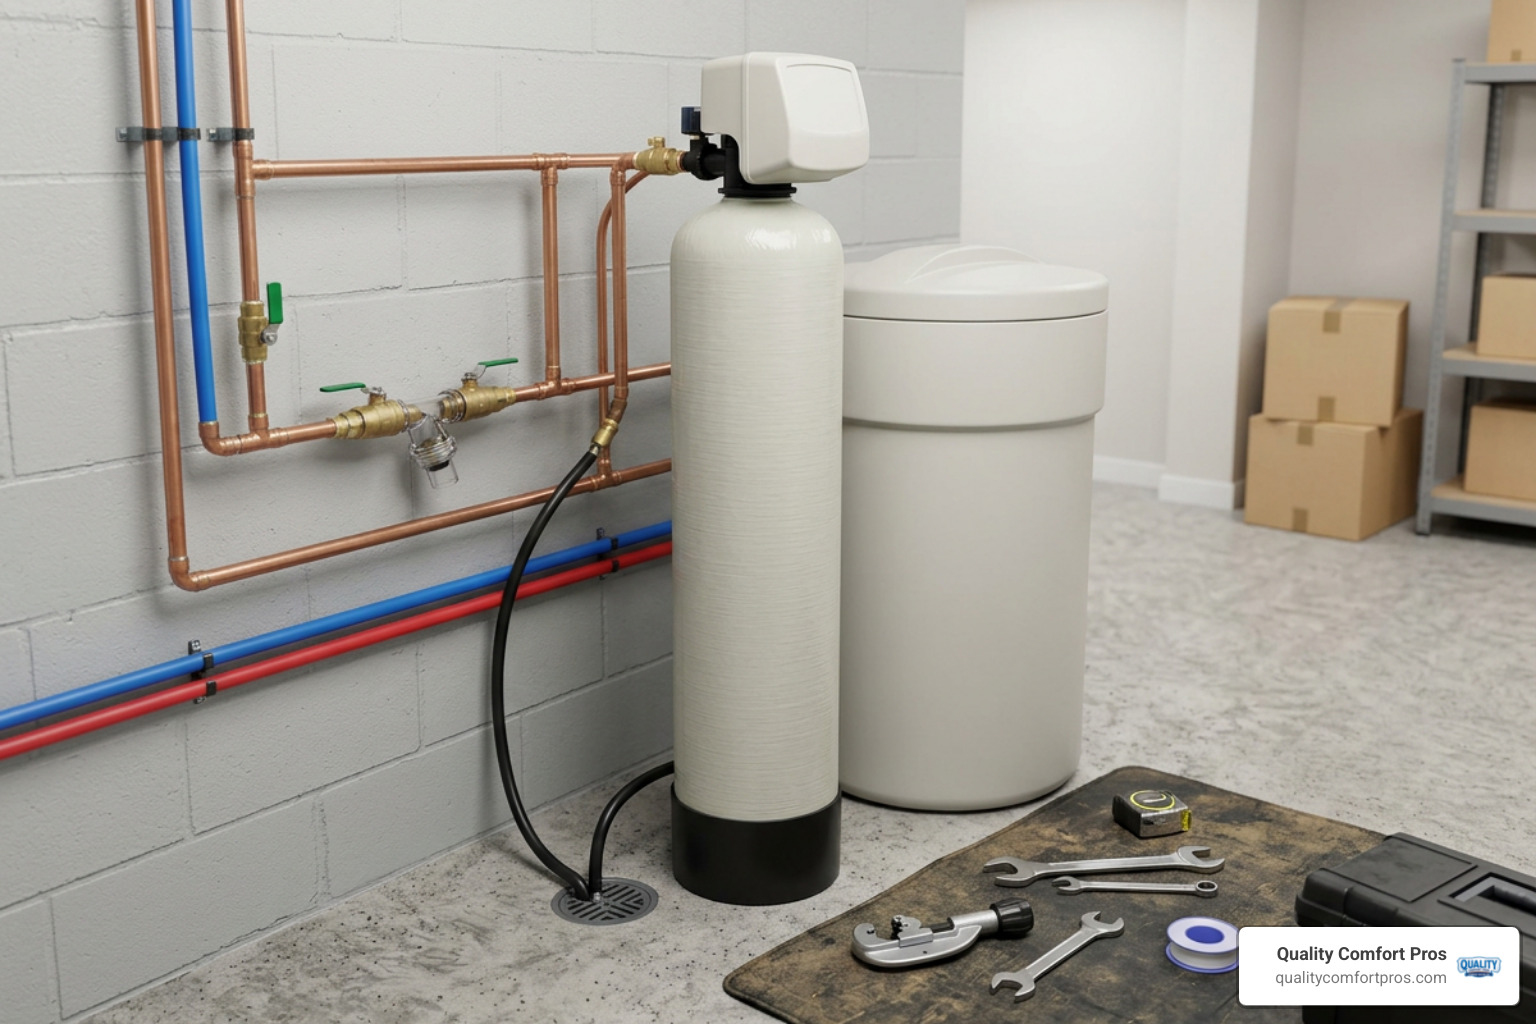
Before you begin, gather the necessary tools and materials:
- Pipe cutter or hacksaw
- Deburring tool
- Tape measure and marker
- Thread sealant tape or pipe thread sealant
- Push-to-connect fittings or soldering equipment
- PEX, copper, or CPVC piping matching your home’s main line
- Flexible connection hoses
- Drain line tubing (usually 1/2-inch inner diameter)
- Air gap fitting
For a visual overview of the setup, you can reference the steps outlined in this guide on how to install a water softener in your home.
Step 1: Shut Off the Water and Drain the Pipes
Locate your home’s main water shutoff valve, which is typically found near your water meter or where the main line enters your home. Turn the valve clockwise to shut off the water supply completely.
Next, open the lowest faucet in your home, such as a basement utility sink, and the highest faucet to drain any remaining water from the pipes. Finally, turn off the power or gas supply to your water heater to prevent damage while the system is depressurized.
Step 2: Cut the Main Water Line and Install Fittings
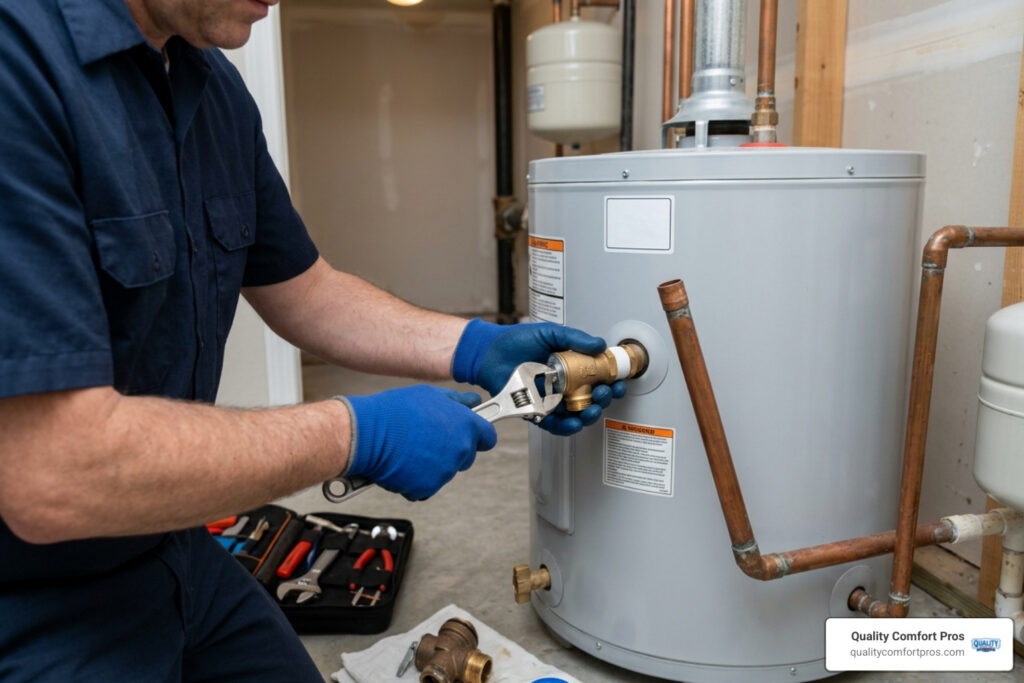
Identify the section of the main cold water line where the softener will be installed. Using a pipe cutter, carefully remove a 6 to 8-inch section of the pipe. Keep a bucket underneath to catch any residual water.
Use a deburring tool to smooth the inside and outside edges of the cut pipes. If you are using copper pipes, clean the ends thoroughly. Slip on your push-to-connect fittings or solder your new adapters onto the existing pipe ends.
Step 3: Connect the Bypass Valve Assembly
The bypass valve is a critical safety and maintenance component. It allows you to divert water around the softener when you need to perform maintenance, water your lawn, or fill a swimming pool without wasting softened water.
Install the bypass valve onto the back of the water softener’s control head, ensuring the rubber O-rings are lubricated and properly seated. Connect your incoming cold water line to the inlet port (marked with an arrow pointing toward the system) and the outgoing house line to the outlet port (marked with an arrow pointing away).
Step 4: Run the Drain Line with a Proper Air Gap
During regeneration, the system flushes accumulated minerals down the drain. Connect a 1/2-inch utility hose to the drain port on the control valve and secure it with a hose clamp. Route this line to your designated drain, ensuring it does not run more than 30 feet horizontally or 8 feet vertically.
To comply with plumbing codes and prevent sewer water from backing up into your drinking water supply, you must maintain a physical air gap of at least 1.5 inches between the end of the drain line and the drain opening. Never stick the drain line directly down into a sewer pipe.
Step 5: Connect the Brine Tank and Add Salt
Connect the brine well line from the brine tank to the control valve using the provided compression fittings. Ensure the connection is tight to prevent air leaks during the brine draw phase.
Once connected, pour about 3 to 4 gallons of clean water into the brine tank, then fill the tank at least half-full with high-quality water softener salt pellets or solar crystals.
Step 6: Program the Controller and Start Regeneration
Plug the power cord into your 120-volt outlet. The digital screen will light up, prompting you to program the system. Input the current time of day, your calculated water hardness in GPG, your household size, and the scheduled regeneration time (usually 2:00 AM when water usage is minimal).
Slowly turn the main water shutoff valve back on, checking all fittings and connections for minor leaks. Open the bypass valve to allow water to fill the mineral tank. Finally, initiate a manual regeneration cycle to flush any manufacturing debris or resin fines out of the system before using the water.
Professional vs. DIY Water Softener Installation
While a DIY water softener installation is entirely possible for a handy homeowner, it is not always the best path forward. Cutting into your home’s primary water supply carries inherent risks, and mistakes can be incredibly costly.
Hiring a licensed, professional plumber offers peace of mind and guarantees that your system is installed in strict compliance with local plumbing codes in Northern Michigan. Before making your final decision, you can book our expert water softener installation services to discuss your home’s unique layout.
Risks of Improper Water Softener Installation
If you choose the DIY route, you must be aware of the common pitfalls that can lead to severe issues:
- Water damage: A single poorly soldered joint or improperly seated push-to-connect fitting can slow-drip behind a wall or burst under high water pressure, causing thousands of dollars in water damage to your basement or utility room.
- Code violations: Many municipalities across Northern Michigan require specific permits for whole-house water treatment installations. Improper drain connections or a missing air gap can result in failed home inspections and costly fines.
- Voided warranties: Many high-quality manufacturers will only honor their equipment warranties if the system was installed by a licensed, certified professional.
- Cross-connection hazards: Incorrectly plumbing the inlet and outlet lines can accidentally send hard brine water into your home’s drinking supply, creating a serious health hazard.
Post-Installation Maintenance and System Longevity
Once your system is up and running, a small amount of routine maintenance will keep it operating at peak efficiency for decades. A high-quality whole-house water softener can easily last between 15 and 25 years when properly maintained.
To keep your system running smoothly, establish these simple maintenance habits:
- Check salt levels monthly: Keep the brine tank at least one-quarter full of salt, and ideally keep it filled to about 2 to 3 inches above the water level.
- Prevent salt bridges: High humidity can cause salt to clump together, forming a hard crust or “bridge” inside the brine tank. This prevents the salt from dissolving into the water to create brine. If you notice your water feels hard but the salt level isn’t dropping, gently break up any crust with a broom handle.
- Perform quarterly resin cleaning: If your water has even trace amounts of iron, the resin beads will eventually become fouled. Using a liquid resin cleaner every three months will restore the beads’ chemical capacity and extend the system’s life.
For professional assistance in keeping your system in top-tier condition, you can discover the best maintenance services for your softener and schedule a routine inspection.
Frequently Asked Questions About Water Softener Installation
How much does professional water softener installation cost?
The total cost of professional installation can vary depending on several factors, including the complexity of your plumbing, whether your home is already pre-plumbed with a water softener loop, and the specific model of softener you choose. Standard replacement installations are generally less labor-intensive than running brand-new lines in an older home.
Do I need a permit for water softener installation?
In many parts of Northern Michigan, a plumbing permit is required for any project that involves cutting into your main water line or connecting a new appliance to the sanitary sewer drain. It is always best to check with your local municipal building department before starting work.
How long does it take to install a water softener?
A professional plumber can typically complete a standard, straightforward water softener installation in 2 to 4 hours. A DIY installation usually takes a homeowner between 4 to 8 hours, depending on their plumbing experience and whether they have the proper tools on hand.
Where is the best place to install a water softener?
The best location is indoors, in a dry, temperature-controlled environment as close as possible to the main water supply’s entry point. Common locations include basements, crawlspaces, utility closets, or garages, provided the area is protected from freezing temperatures.
Can I install a water softener on a well water system?
Yes, water softeners work exceptionally well on private well systems. The softener must be installed after the well’s pressure tank and sediment filter, but before the water heater, to ensure it receives a steady, regulated stream of water.
How do I calculate the correct water softener size for my home?
Multiply your daily water usage (number of people in your home multiplied by 75 gallons) by your water hardness in GPG. Then, multiply that daily grain requirement by 7 to find the minimum capacity your system needs to run efficiently without regenerating too often.
What is a drain line air gap and why is it required?
An air gap is a physical, unobstructed vertical space between the end of the softener’s drain tube and the flood level rim of the waste receptor. It is a critical plumbing code requirement designed to prevent contaminated sewer water from siphoning back into your clean water supply.
How long does a whole-house water softener typically last?
With proper maintenance, a high-quality whole-house water softener will typically last between 15 and 25 years. The internal resin beads generally need to be replaced every 10 to 15 years, depending on the level of chlorine or iron in your incoming water.
Can I use potassium chloride instead of salt in my softener?
Yes, potassium chloride is an excellent, environmentally friendly alternative to traditional sodium chloride. It works identically in the ion exchange process, though it is slightly more expensive and may require you to increase your system’s hardness setting by about 20%.
How often should I add salt to my water softener brine tank?
Most standard households with average water hardness will go through one 40-pound bag of salt every 4 to 6 weeks. It is best to check the brine tank once a month to ensure the salt level remains at least a few inches above the water line.
Conclusion
Investing in a whole-house water softener is one of the smartest upgrades you can make for your home. By eliminating hard water minerals at the source, you protect your pipes, extend the life of your expensive water heater and appliances, and enjoy the daily comfort of softer skin, shinier hair, and cleaner laundry.
Whether you decide to tackle this project yourself or prefer the absolute safety and certainty of a professional installation, our team is here to help. We proudly serve homeowners across Northern Michigan, including Alba, MI, Atlanta, MI, Bellaire, MI, Boyne City, MI, Boyne Falls, MI, Charlevoix, MI, East Jordan, MI, Frederic, MI, Gaylord, MI, Grayling, MI, Johannesburg, MI, Mancelona, MI, Petoskey, MI, Vanderbilt, MI, Walloon Lake, MI, and Wolverine, MI.
If you are ready to transform your home’s water quality, contact Quality Comfort Pros today to schedule your in-home consultation and secure a professional water softener installation for your household!