Is Replacing a Hot Water Tank Actually Hard? Here’s What You Need to Know First
Replacing a water tank is a manageable project for many homeowners — but the difficulty depends on the type of tank and your comfort level with plumbing.
Here is a quick overview of what to expect:
| Tank Type | DIY Difficulty | Average Cost (DIY) | Average Cost (Pro) |
|---|---|---|---|
| Water heater (tank-type) | Moderate–Hard | Materials only | $800–$3,000 |
| Well pressure tank | Moderate | $100–$500 | +$125–$200 labor |
| Expansion tank | Easy–Moderate | $90–$350 | Included in service |
Key things to know upfront:
- Most tank-type water heaters last 8–12 years before needing replacement
- Well pressure tanks typically last 5–15 years
- Gas water heater replacement usually requires a licensed professional
- Electric and expansion tank replacements are more DIY-friendly
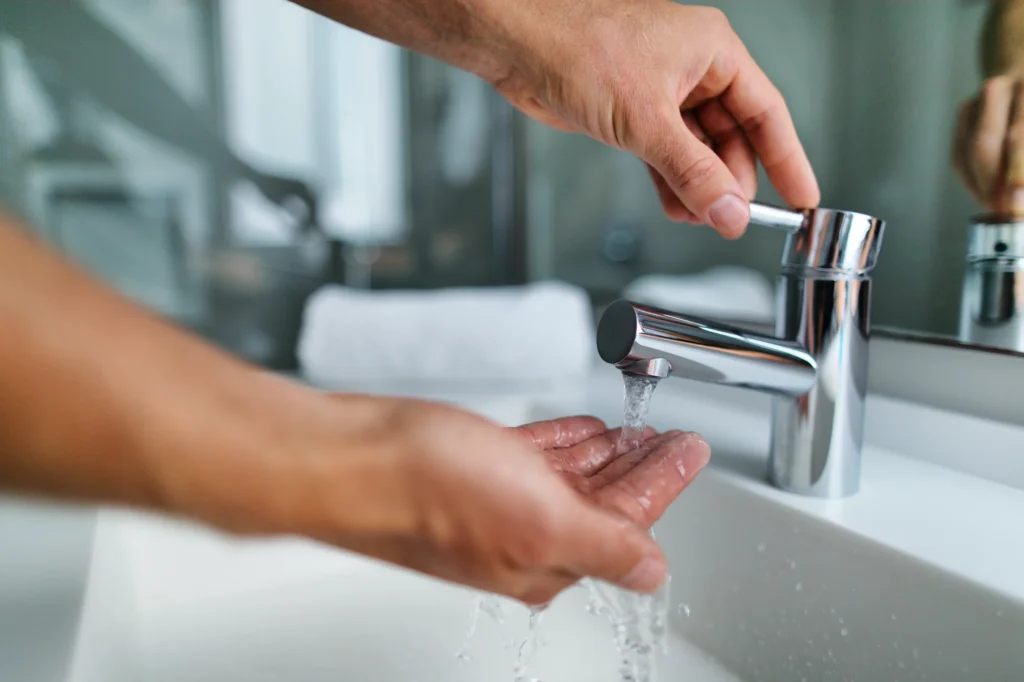
If your water pressure sounds erratic, your hot water runs out faster than it used to, or you are noticing rust-colored water coming from your taps, your tank may already be telling you it is time for a change. For Northern Michigan homeowners, a failing water tank is not just an inconvenience — it can become a serious problem in the middle of a hard winter.
I’m JD Osman, and through my work at Quality Comfort Pros I’ve helped homeowners across Northern Michigan navigate exactly these kinds of decisions — including when to replace a water tank themselves and when to call in a professional. Let’s walk through everything you need to know to make the right call for your home.

Signs It Is Time to Replace Your System
Knowing when to replace a water tank before it turns into a basement-flooding emergency is a skill every homeowner in Northern Michigan should have. Whether you are in Gaylord, Petoskey, or Grayling, our systems work hard, especially during the freezing months.
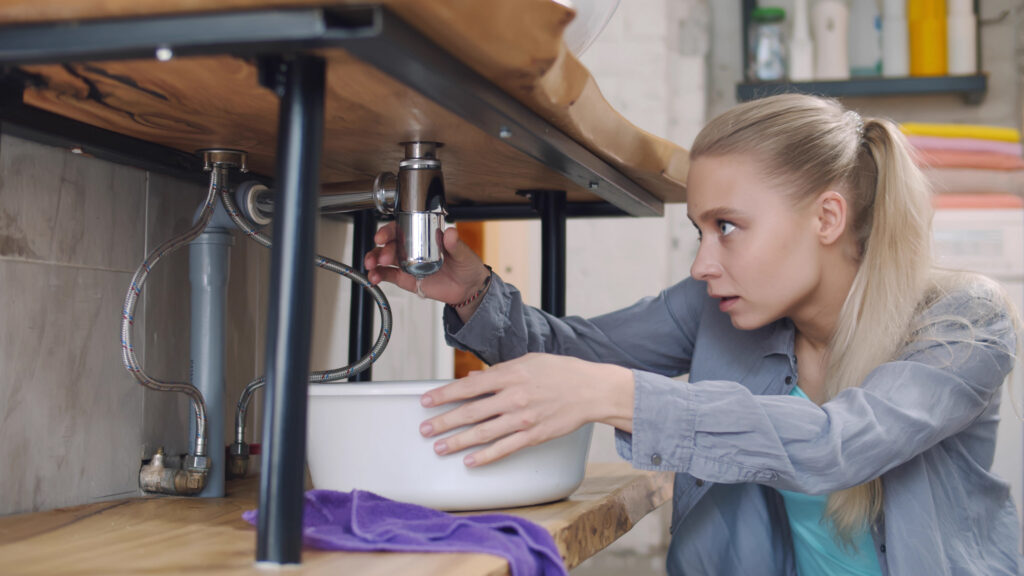
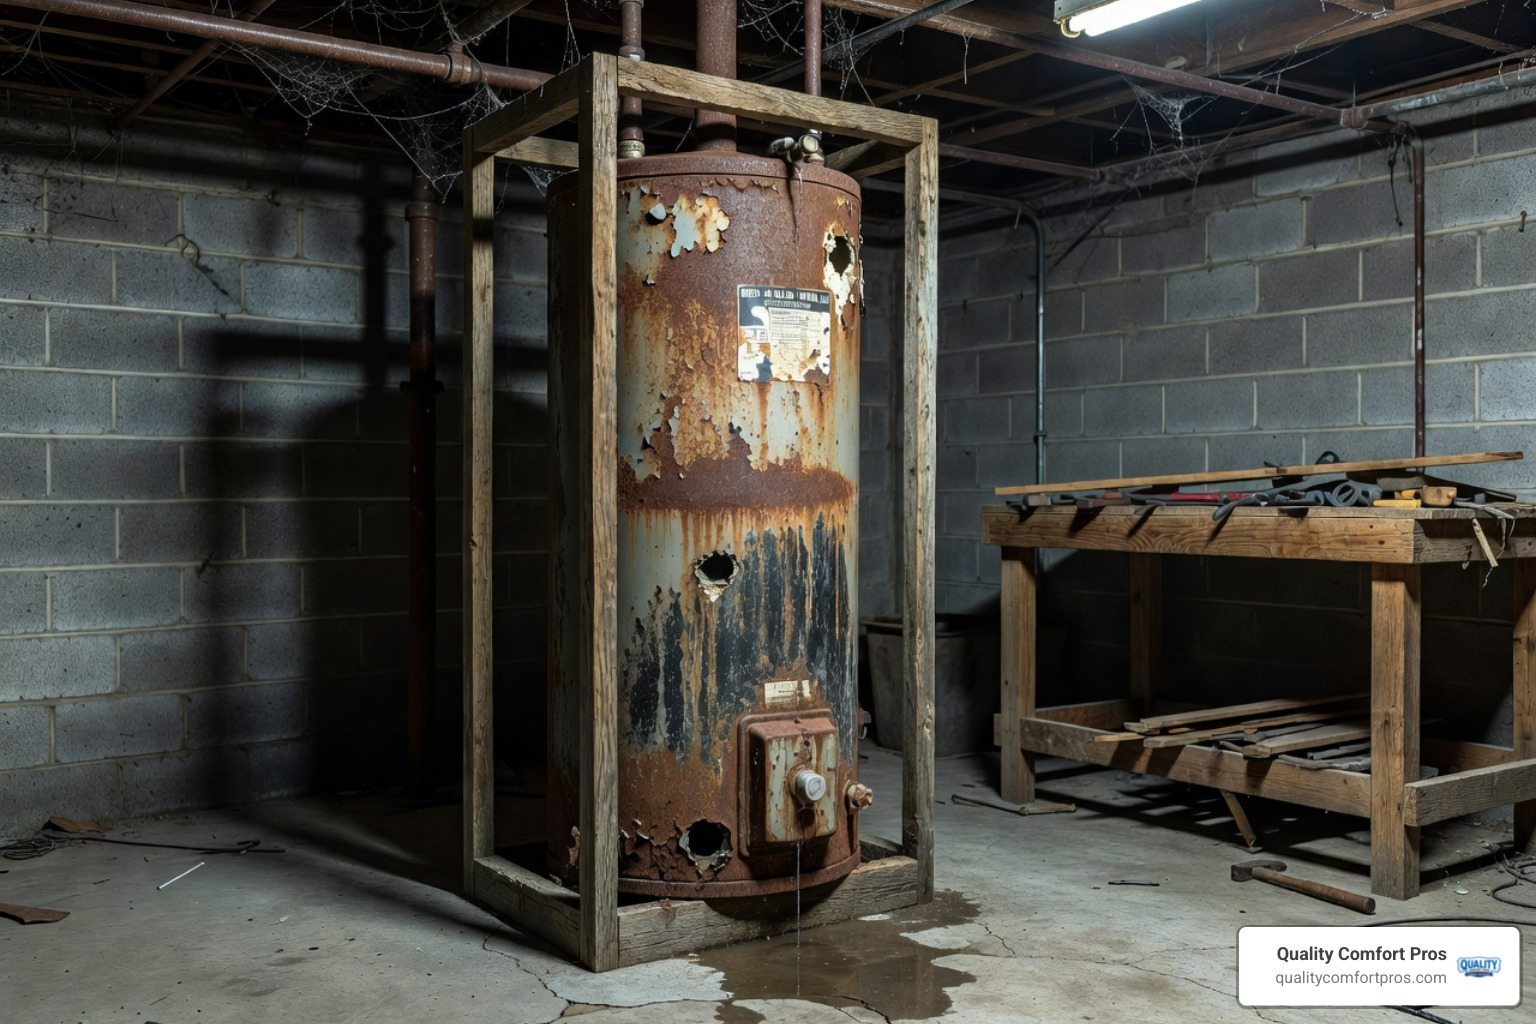
One of the most obvious red flags is corrosion. If you see rust around the base of the tank, the seams, or the intake valves, the metal is structurally compromised. Once a tank starts to rust through, there is no “patching” it; the integrity of the vessel is gone. You might also notice rusty water coming out of your hot water taps. This usually indicates that the internal sacrificial anode rod has failed and the tank itself is now oxidizing.
Sediment buildup is another silent killer. Over years of use, minerals like calcium and magnesium settle at the bottom of the tank. This creates an insulating layer between the burner (or element) and the water, forcing the unit to work harder. You’ll know this is happening if you hear popping, rumbling, or “scouring” sounds—almost like a DJ scratching a record—coming from the unit.
Lastly, consider the age factor. Most tank-type water heaters have a lifespan of 8 to 12 years. If yours is pushing 15, you are living on borrowed time. For those with well systems, a pressure tank typically lasts 5 to 15 years, though high-end models can reach 30 with perfect maintenance. If your well pump is constantly “short cycling” (turning on and off rapidly), your pressure tank’s internal bladder has likely ruptured.
For a closer look at what these warning signs mean, you can read more about when it makes sense to replace your water heater and Everything You Need to Know to Replace a Water Heater.
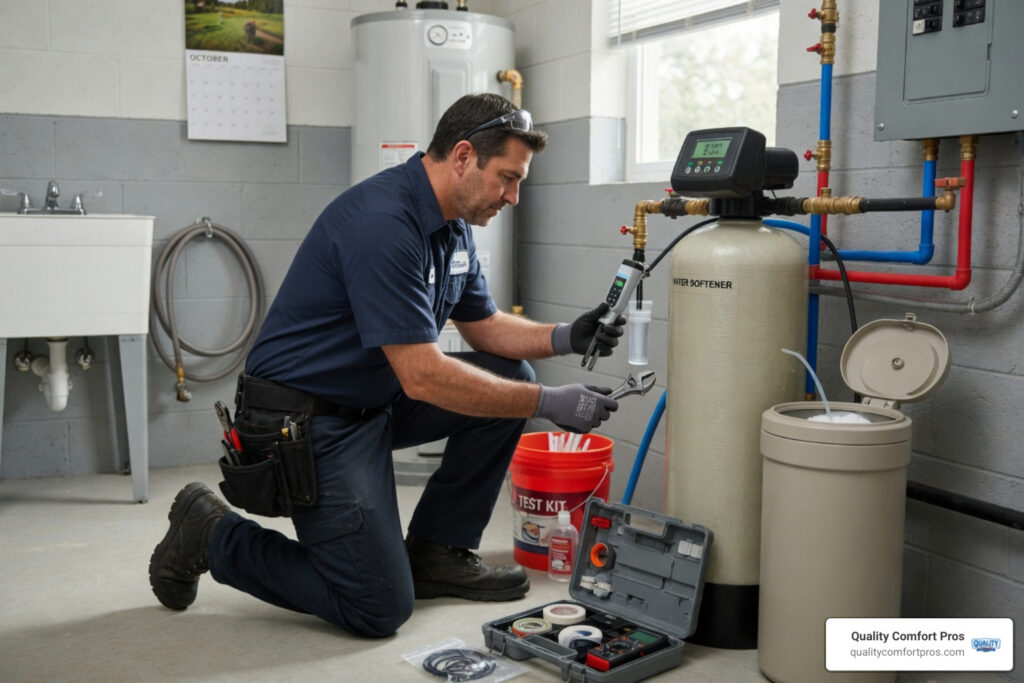
Essential Tools and Safety to Replace Water Tank Systems
Before you start unbolting pipes, you need to prepare. Safety is the number one priority, especially when dealing with pressurized water, electricity, or gas lines.
Safety First
- Shut off the power: For electric heaters, turn off the breaker. For gas heaters, turn the gas valve to the “Off” position.
- Isolate the water: Close the cold-water shut-off valve leading into the tank.
- Cool down: Let the water sit for at least an hour before draining to avoid severe burns.
- Ventilation: If you’re working with gas, ensure the area is well-ventilated to prevent carbon monoxide buildup.
Required Tools and Materials
To replace a water tank successfully, you’ll need a standard plumbing toolkit:
- Pipe wrenches and adjustable wrenches
- A garden hose (for draining)
- Teflon tape (plumber’s tape) and pipe dope
- A digital or analog pressure gauge
- A screwdriver set
- New supply lines (if the old ones are corroded)
When weighing your options, consider the water heater replacement or repairs balance. While a DIY approach for a well pressure tank might cost you $100–$500 for the tank itself, hiring a professional adds roughly $125–$200 in labor but provides the peace of mind that the job meets local building codes. Detailed guides like How to Replace a Well Pressure Tank in 6 Steps can help you visualize the process.
How to Replace Water Tank Expansion Units
Expansion tanks are small but mighty. They protect your plumbing by absorbing the “thermal expansion” that happens when water heats up. If yours is heavy (full of water) or leaking from the Schrader valve (the little air nub like on a bike tire), it’s time for a swap.
- Check the Pressure: Use a bicycle pump and a tire gauge to set the new tank’s air pressure. It should typically be set to 12 PSI or match your home’s static water pressure.
- Drain and Remove: Turn off the water, open a nearby faucet to relieve pressure, and unscrew the old tank.
- Seal and Install: Apply Teflon tape to the threads of the new tank, leaving the first two threads bare to prevent tape from entering the line. Screw it on hand-tight, then give it a small snug with a wrench.
Choosing the Right Tank Size
Do not assume your old tank size is still the best fit. Your household size, water habits, and peak usage may be different now.
- For water heaters: A 40-gallon tank often works for 2 to 4 people. If your home has heavy hot water use, such as long showers or a large soaking tub, a 50- to 80-gallon tank may make more sense.
- For well pressure tanks: Sizing depends on your pump’s flow rate and the tank’s drawdown, which is the amount of water available before the pump starts again. A larger tank can help reduce pump cycling and wear.
Step-by-Step Removal and Installation
Ready to get to work? Follow these steps to replace a water tank safely.
1. Draining the Old Tank
Connect a garden hose to the drain valve at the bottom of the tank. Run the other end to a floor drain or outside. Open the drain valve and then open a hot water faucet somewhere in the house to break the vacuum and allow the water to flow out faster.
2. Disconnecting
Once empty, disconnect the water supply lines. If you have a gas unit, you must carefully disconnect the gas line and the exhaust flue. For electric units, disconnect the wiring from the junction box on top of the heater.
3. Positioning the New Tank
Slide the old tank out and bring the new one in. Ensure it is level. In Northern Michigan, we often use plastic drain pans under the tank to catch any future leaks—this is a great time to install one. If the floor is uneven, use non-combustible shims to level the unit.
For more on the specifics of the setup, see our guide on water heater/water heater-installation.
Final Steps to Replace Water Tank Plumbing
Now comes the “re-assembly” phase.
- Reconnect Water Lines: Use flexible connectors if local codes allow; they are much easier to install than rigid copper.
- Gas and Electric: Reconnect the gas line using gas-rated pipe dope. If you are uncomfortable with gas or electrical work, this is the exact moment to call a professional.
- The “Soapy Water” Test: Once the gas is back on, spray a mixture of dish soap and water on the connections. If you see bubbles, you have a leak. Tighten the connection and try again.
- Fill Before Powering: This is the most common mistake! Never turn on the power or gas until the tank is completely full of water. If you heat an empty tank, you will burn out the electric elements or damage the tank lining instantly.
Frequently Asked Questions about Water Tank Replacement
How long does it take to replace a water tank?
For a seasoned DIYer, a standard water heater replacement takes about 3 to 5 hours. A well pressure tank or expansion tank can usually be swapped in 1 to 2 hours. If you run into corroded pipes that need cutting and soldering, add another 2 hours to your timeline.
Do I need a permit to replace my hot water tank?
In many parts of Northern Michigan, including Gaylord and Petoskey, a plumbing or mechanical permit is required for water heater replacements. This ensures the venting and safety valves are installed correctly to prevent fires or carbon monoxide poisoning. Always check with your local township office first.
Can I replace a well pressure tank myself?
Yes, it is a very common DIY project. The hardest part is often the weight—a waterlogged pressure tank can weigh over 200 pounds. You’ll need to be comfortable with basic wiring for the pressure switch and using a pressure gauge to set the “pre-charge” of the tank.
Conclusion
Whether you decide to replace a water tank yourself or hire the experts, the goal is the same: reliable, safe, and efficient hot water for your home. Taking on a DIY project can be rewarding and cost-effective, but don’t hesitate to reach out if the plumbing looks too complex or the gas lines make you nervous.
At Quality Comfort Pros, we’ve spent 28 years providing reliable, family-owned solutions to our neighbors in Gaylord, Atlanta, Grayling, and across Northern Michigan. We work with all major brands and understand the unique challenges our climate poses to home plumbing systems.
If you’re ready for a new water heater or simply need a professional to verify your DIY installation, give us a call. We’re here to ensure your home stays comfortable, no matter how cold it gets outside.