How to Winterize Outdoor Faucets and Prevent Costly Freeze Damage
Why You Need to Winterize Outdoor Faucets Before Winter
To winterize outdoor faucets and prevent freeze damage, disconnect and drain all garden hoses, close the dedicated interior shut-off valve, open the exterior spigot and interior bleeder cap to drain residual water, and secure an insulated faucet cover. Completing these simple steps in early autumn prevents ice expansion from rupturing copper or PEX supply lines and causing severe interior flooding.
Outdoor spigots are the most exposed part of your home plumbing system. When outdoor temperatures drop, metal fixtures easily conduct the outside chill directly into the pipes running through exterior walls, basements, and crawl spaces.
Plumbing pipes have a critical temperature warning threshold of 20°F. When ambient air reaches this point, standing water inside unprotected supply lines begins to freeze rapidly. Even at temperatures slightly above this threshold, faucets can freeze if they are exposed to continuous cold for at least six hours, particularly when windy conditions strip ambient warmth away from exterior siding.
When water freezes, it undergoes a volume expansion of approximately 9%. Because water is enclosed within rigid copper, brass, or PEX piping, this expansion generates tremendous hydrostatic pressure. The ice does not merely push outward against the pipe walls; it acts like a solid piston, forcing trapped water downstream toward closed valves.
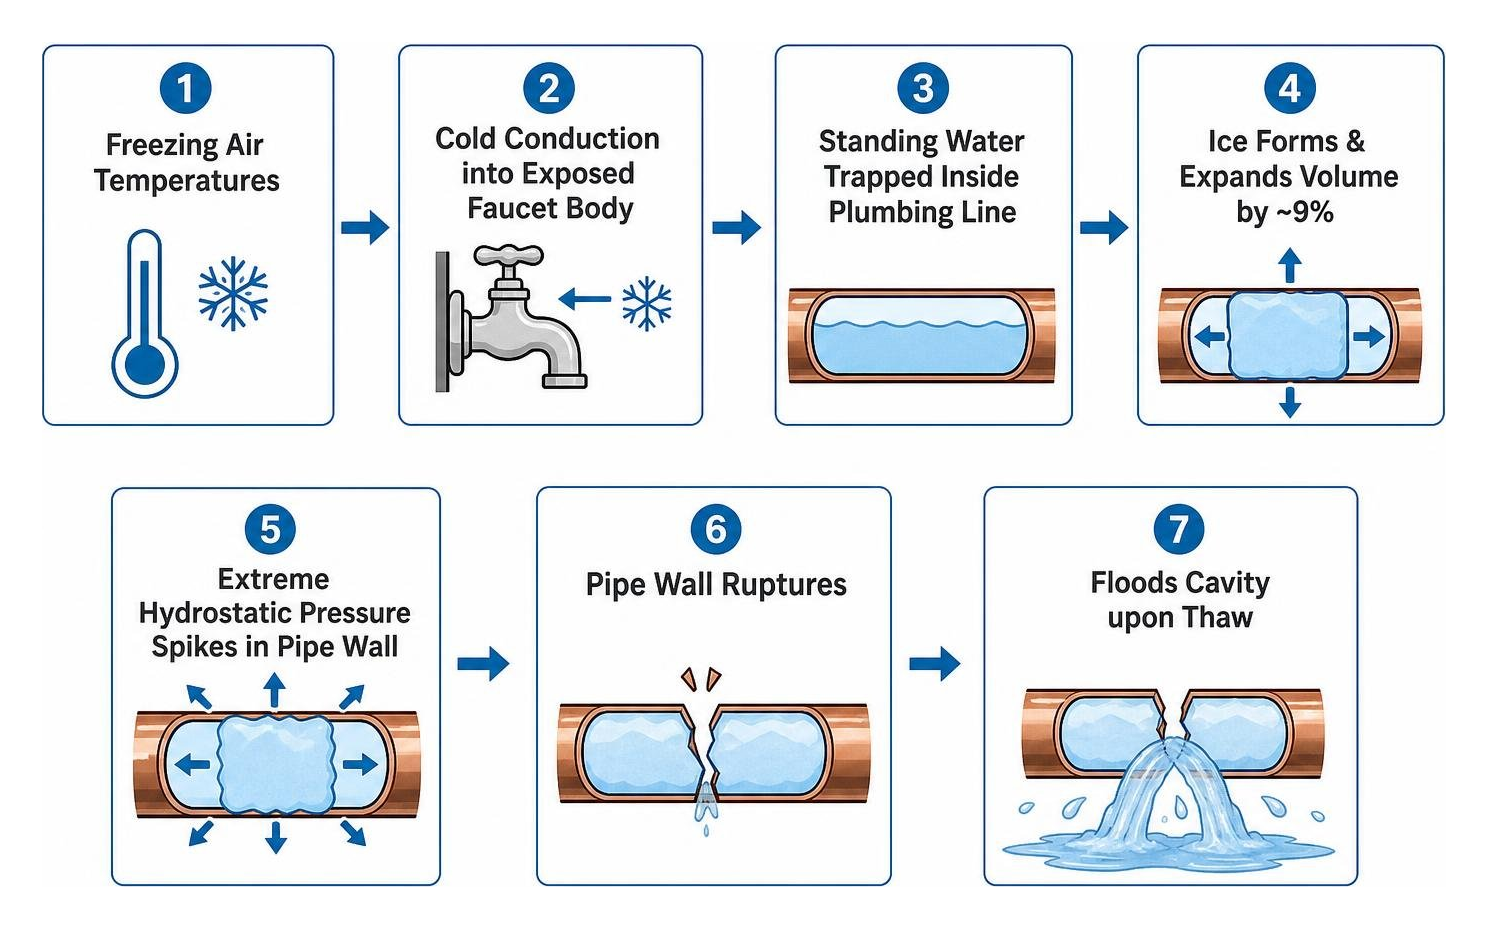
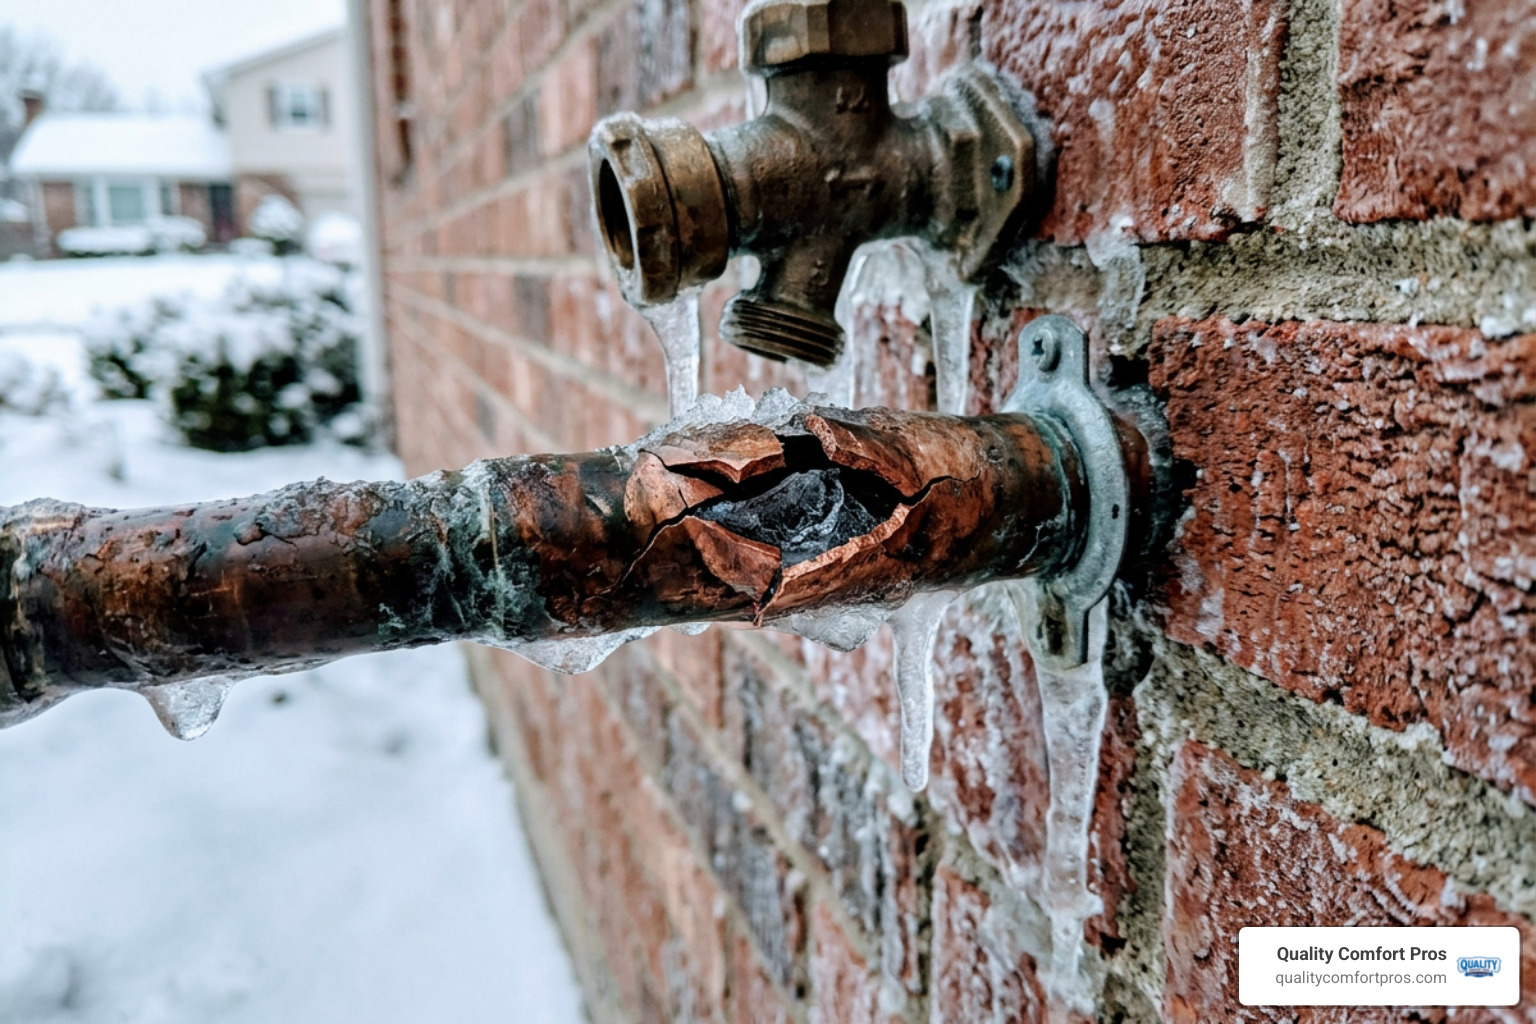
Eventually, the pipe splits open at its weakest point, which is often hidden out of sight inside your wall cavities or subfloor. When spring arrives or the line thaws, pressurized water escapes freely into your home. The resulting damage can be catastrophic:
- Plumbing repairs: Fixing ruptured piping, replacing damaged sillcocks, and repairing split fittings can range from simple repairs to more involved work depending on where the damaged line is located.
- Structural restoration and cleanup: Water damage cleanup and professional structural drying can become extensive if water flows undetected for days behind drywall, insulation, and finished flooring.
Understanding why pipes leak in cold Michigan winters highlights why taking fifteen minutes to isolate and drain exterior lines in the autumn is the easiest way to prevent serious property damage. Guidance from the Ontario Clean Water Agency also recommends shutting off the inside valve, removing hoses, and draining the outside faucet before winter.
Best Timing: When to Winterize Outdoor Faucets in Cold Climates
Timing is critical when preparing your plumbing for cold weather. The ideal window to complete exterior winterization is early-to-mid autumn, typically across September and October, well before local weather forecasts project the first sustained hard freeze.
In Northern Michigan communities such as Gaylord, Boyne City, Petoskey, and Grayling, cold snaps can appear suddenly without much warning. Relying on last-minute forecasts often leaves homeowners scrambling during freezing rain or unexpected early snowstorms.
For seasonal properties, vacation cabins, and rental homes across Walloon Lake, Charlevoix, or Bellaire, winterization should take place as part of the standard seasonal property shutdown before the heating season begins in earnest. Taking early action ensures that preventative plumbing protects homes against unexpected temperature drops while outdoor work is still comfortable and dry.
Complete Step-by-Step Process to Protect Exterior Spigots
Winterizing your exterior spigots does not require expensive equipment or advanced technical training. With a few simple hand tools and basic protective materials, you can safeguard your home plumbing in under fifteen minutes per fixture.
Required Tools and Materials
- Adjustable wrench or channel-lock pliers
- Small bucket or container (to catch drainage water)
- Dry rag or towel
- Lubricating spray, such as silicone or penetrating lubricant
- Insulated outdoor faucet covers, including hard foam shells or padded thermal pouches
- Pipe insulation foam sleeves, optional for exposed unheated piping
Step 1: Disconnect, Drain, and Store Garden Hoses and Splitters
The single most common mistake homeowners make is leaving garden hoses, brass Y-splitters, quick-connects, or automatic watering timers attached to exterior spigots during cold weather.
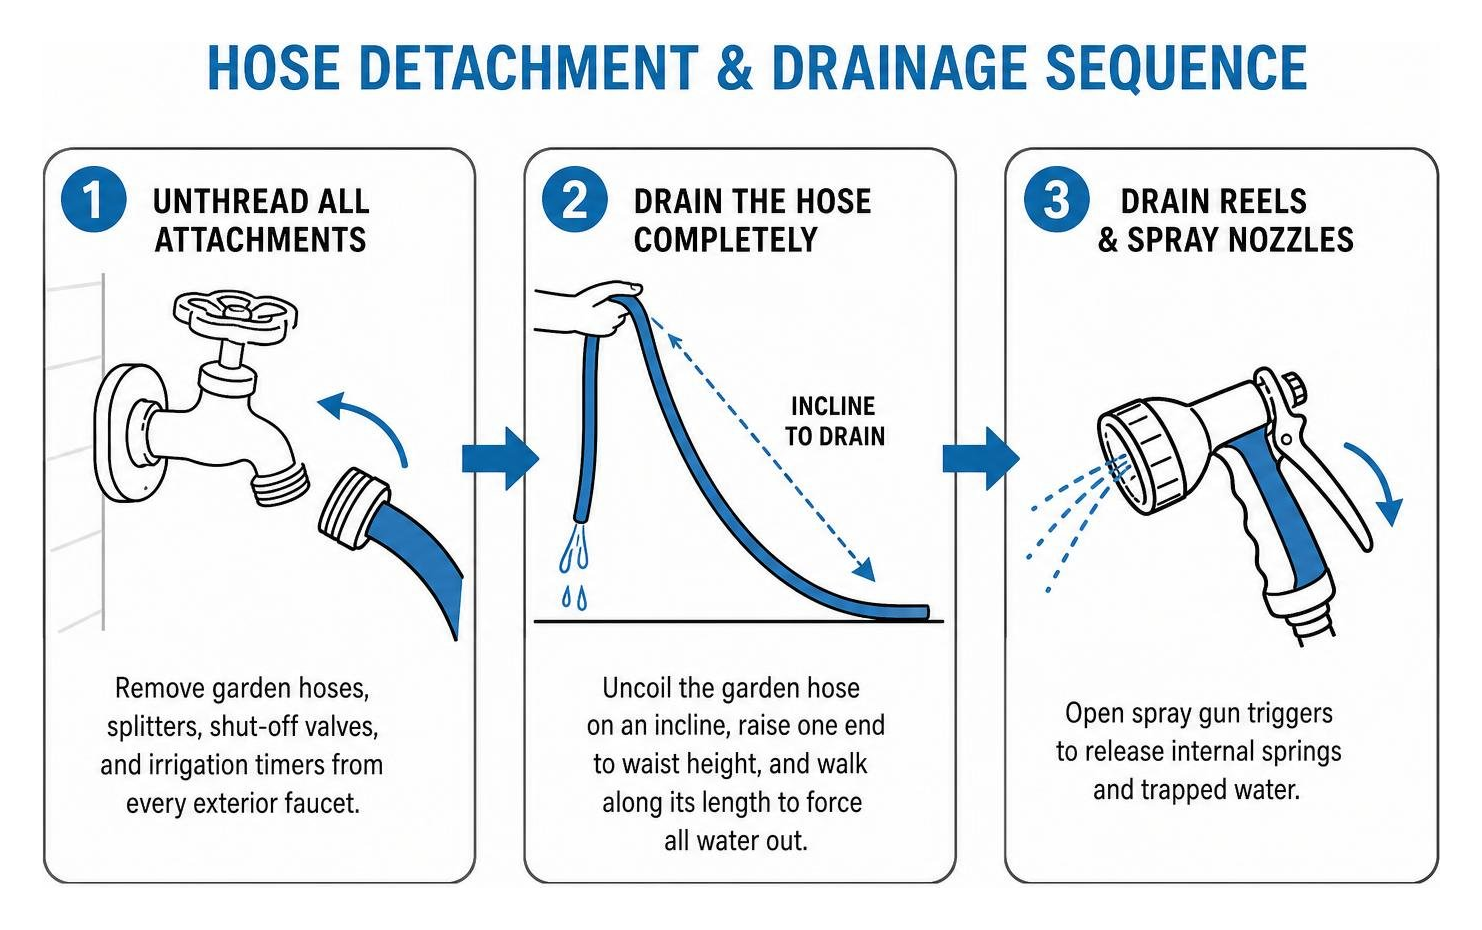
When a hose remains connected, the closed spray nozzle or resting water column holds water inside the spigot casting. Even if you turn off the faucet handle, the water trapped within the bib cannot drain out. When cold temperatures strike, this trapped water freezes solid, cracking the internal brass housing and pushing straight into the supply line within the wall.
- Unthread all attachments: Remove garden hoses, splitters, shut-off valves, and irrigation timers from every exterior faucet.
- Drain the hose completely: Uncoil the garden hose on an incline, raise one end to waist height, and walk along its length to force all water out.
- Drain reels and spray nozzles: Open spray gun triggers to release internal springs and trapped water.
- Store indoors: Coil your hoses and place them inside a heated garage, basement, or utility shed. Freezing temperatures degrade rubber and vinyl, leading to premature cracking and split seams next spring.
Step 2: Locate and Close the Interior Shut-Off Valve
Most modern homes equipped with standard plumbing have dedicated interior isolation valves for exterior hose bibs. These shut-off valves let you stop the water supply to the outside spigot while keeping the rest of your home water system fully operational.
- Trace the plumbing line: Go inside your home directly behind where the exterior faucet is mounted outside. Check unfinished basement ceiling joists, crawl spaces, utility closets, or mechanical rooms near your water heater.
- Identify the valve style:
- Gate valve: Features a round, wheel-shaped handle. Turn this handle clockwise, to the right, several complete rotations until it stops firmly. If the valve feels stiff, apply a light coat of lubricating spray to the stem, wait a few minutes, and gently ease it closed with an adjustable wrench. Never use excessive force, as aged gate valves can shear.
- Ball valve: Features a straight lever handle. Turn the lever 90 degrees so that the handle sits perpendicular, or across, the water pipe. When the handle forms a cross with the pipe, the water flow is shut off completely.
Step 3: Drain Residual Water and Bleed the Plumbing Line
Closing the interior shut-off valve stops incoming water pressure, but a column of standing water remains trapped inside the length of pipe that runs between the interior valve and the outdoor wall. You must drain this trapped water to give the pipe empty air space.
- Open the outdoor spigot: Walk outside and open the exterior faucet handle fully. Let all pressurized water run out into a bucket or onto the ground until the stream stops completely.
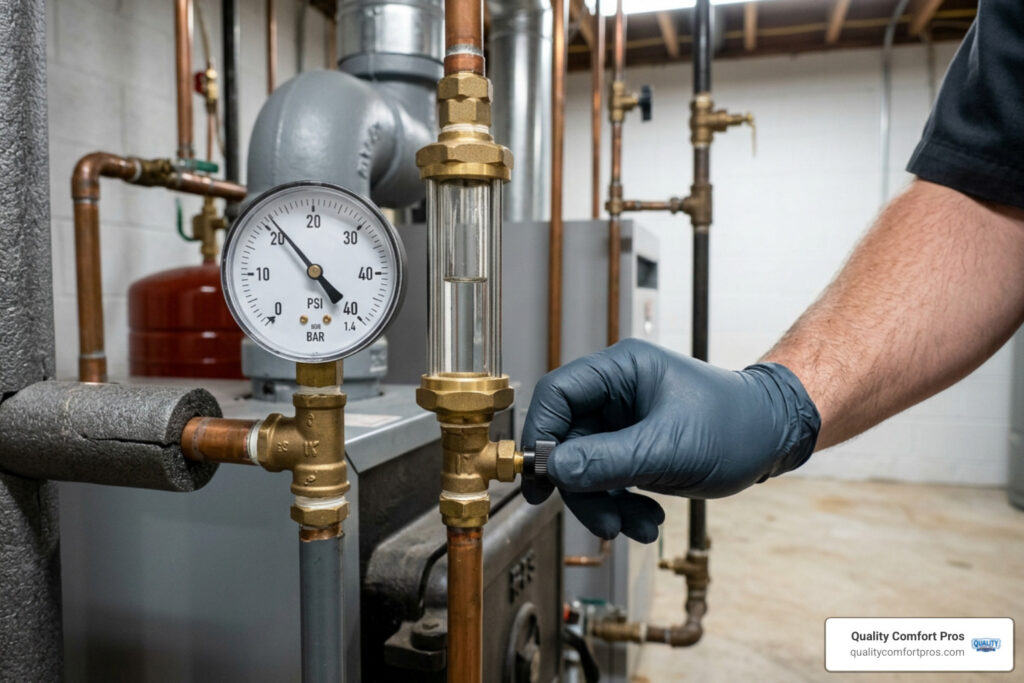
- Locate the interior bleeder cap: Return inside to the interior shut-off valve. Many brass valves feature a small knurled drain cap, also called a bleeder screw, located on the side of the valve body facing downstream toward the outside wall.
- Bleed the line: Place a small bucket beneath the valve. Unscrew the small bleeder cap counterclockwise using your fingers or pliers.
- Break the vacuum: As you open the bleeder cap, air enters the line and releases the vacuum hold, much like taking your finger off the top of a drinking straw. The remaining water will drain into your bucket.
- Reinstall or store: Once water stops dripping, loosely replace the bleeder cap. Leave the exterior outdoor spigot slightly cracked open throughout the winter season so that any trace condensation can expand without restriction.
Taking time to isolate lines properly is an essential part of dealing with frozen or leaky pipes in winter before cold weather sets in.
Step 4: Install Insulated Faucet Covers
Once the line has been drained, an insulated faucet cover provides an essential secondary line of defense against sub-zero drafts, heavy winds, and cold air infiltration into your home sill plate.

Faucet covers work by trapping radiant ambient heat escaping through the home foundation and wall cavity, maintaining a warmer microclimate around the exterior metal spigot.
- Hard foam covers: These rigid expanded polystyrene shells feature a flexible rubber gasket along the perimeter and an internal rubber loop. Hook the loop around the faucet handle, push the foam dome flush against your siding, and slide the exterior cord-lock tight against the cover collar to create an airtight seal.
- Soft thermal pouch covers: Made from heavy-duty waterproof polyester lined with thick synthetic insulation, these slip over the entire faucet assembly and secure tightly around the base using strong hook-and-loop straps.
Ensure the cover sits completely flush against your siding or brickwork. If you have irregular stone or lap siding, adjust the tension to minimize gaps where freezing drafts could enter.
Handling Special Faucet Types and Older Plumbing
Not all homes feature the same plumbing configurations. Older properties or homes with specialized fixtures require slightly different winterization strategies.
| Feature / Consideration | Standard Hose Bibb / Spigot | Frost-Free Sillcock (Freeze-Proof) |
|---|---|---|
| Valve Seat Location | Outside on exterior wall face | 4 to 12 inches deep inside heated wall |
| Self-Draining Action | No, holds standing water in body | Yes, drains automatically when closed |
| Interior Shut-Off Needed? | Yes, highly recommended | Optional, but helpful in extreme cold |
| Hose Removal Required? | Yes, critical | Yes, critical, since trapped water defeats drainage |
| Insulated Cover Needed? | Yes, essential | Recommended for sub-zero winds |
How to Winterize Outdoor Faucets Without Interior Shut-Off Valves
Older homes throughout Northern Michigan may lack dedicated interior shut-off valves for individual exterior hose bibs. If your home falls into this category, you can still protect your plumbing using alternative insulation methods:
- Wrap exposed interior pipes: If the supply pipe runs through an accessible crawl space or unheated basement, wrap the entire exposed run in thick, pre-slit closed-cell foam pipe insulation sleeves. Secure all seams with heavy-duty insulation tape.
- Apply self-regulating heating cable: In severe cold zones, install certified thermostatically controlled heat tape along the supply pipe leading to the exterior fixture before applying insulation. The heating cable turns on automatically when temperatures near freezing.
- Use high-grade insulated exterior covers: Install a heavy-duty, double-insulated thermal tap jacket over the outside spigot.
- Plan an upgrade: If you want a long-term solution that eliminates winter freeze worries, consider scheduling professional plumbing pipe replacement to install dedicated interior shut-offs or upgrade to freeze-proof sillcocks.
Managing Frost-Free Sillcocks and Freeze-Proof Hydrants
Frost-free sillcocks are designed with a long valve stem that extends 4 to 12 inches through the wall into your home heated interior envelope. When you turn the handle off, the actual valve washer seals against a seat deep inside the warm wall, allowing all residual water in the outer barrel to drain forward out of the spout.
While frost-free faucets are engineered to resist freezing, they can still rupture under specific conditions:
- Hoses left connected: Leaving a hose attached prevents the barrel from draining. The trapped water freezes inside the stem tube, splitting the casing deep within your finished wall.
- Improper installation pitch: Frost-free sillcocks must be installed with a slight downward slope toward the outside. If the faucet was installed level or sloping backward, water cannot drain by gravity, leading to freeze damage.
- Extreme polar vortex conditions: During severe cold snaps where temperatures drop below zero for extended periods, heat loss from the exterior wall can cause freezing even inside the wall cavity.
To winterize a frost-free faucet safely, disconnect all hoses, verify that water drains completely out of the spout within several seconds of closing, and add an insulated cover for extra protection against high winter winds. For aging fixtures that drip continuously or fail to drain, reach out for expert faucet repair and installation before winter arrives.
Avoiding Costly Mistakes, Identifying Freeze Damage, and Emergency Fixes
Proper winterization prevents severe plumbing disasters, but small oversights can still cause problems. Keep these best practices in mind:
Common Winterizing Mistakes to Avoid
- Relying solely on an insulated cover: A faucet cover slows heat loss, but it cannot stop unheated water from freezing during sustained deep freezes. You must always isolate and drain standard plumbing lines.
- Forgetting detached structures: Always winterize fixtures on unheated detached garages, pool houses, outdoor garden sheds, and barn hydrants.
- Overlooking interior bleeder caps: Forgetting to remove the small bleeder screw leaves trapped water inside the pipe between the indoor valve and the wall.
How to Identify Frozen or Burst Pipes
When freezing weather hits, inspect your plumbing system for early indicators of ice blockage or pipe failure:
- No water flow or weak trickle: Turning on an indoor faucet or outdoor spigot results in little to no water, indicating an ice plug within the line.
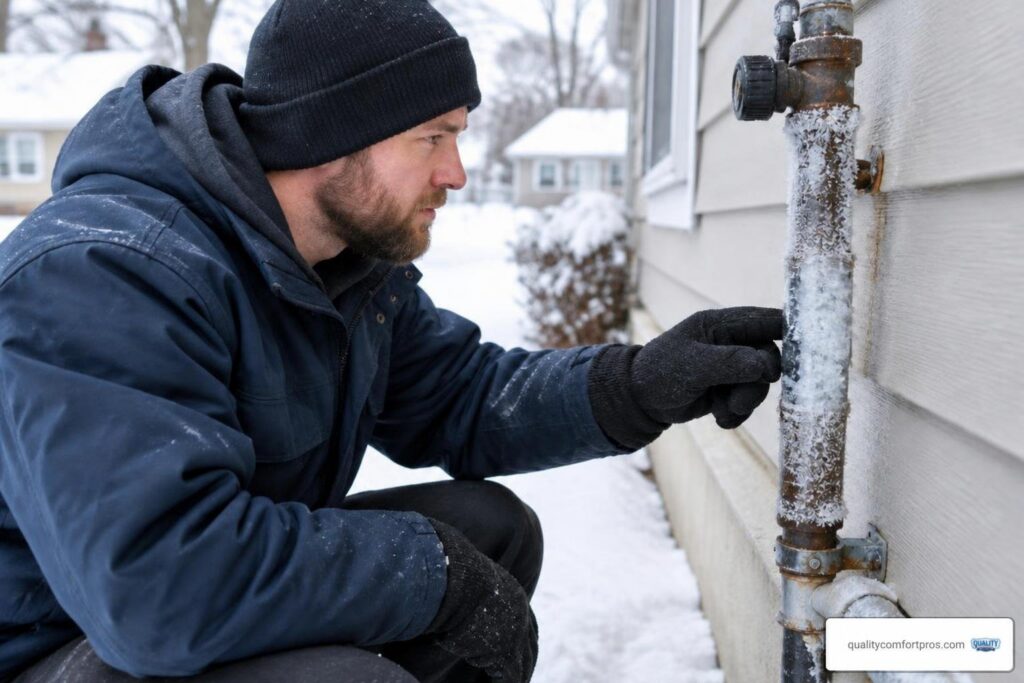
- Visible frost or bulging: Exterior frost forms on exposed pipes, or the metal wall of a copper line appears visibly deformed or swollen.
- Unexplained sounds: Hissing, whistling, or running water sounds behind drywall or ceilings when all fixtures are turned off.
- Damp drywall or foundation walls: Dark water stains, drywall bubbling, or puddling around basement rim joists when outdoor temperatures begin to rise.
If you suspect hidden water leaks within your walls, professional plumbing leak detection can pinpoint the exact breach without invasive demolition.
Safe DIY Thawing Techniques
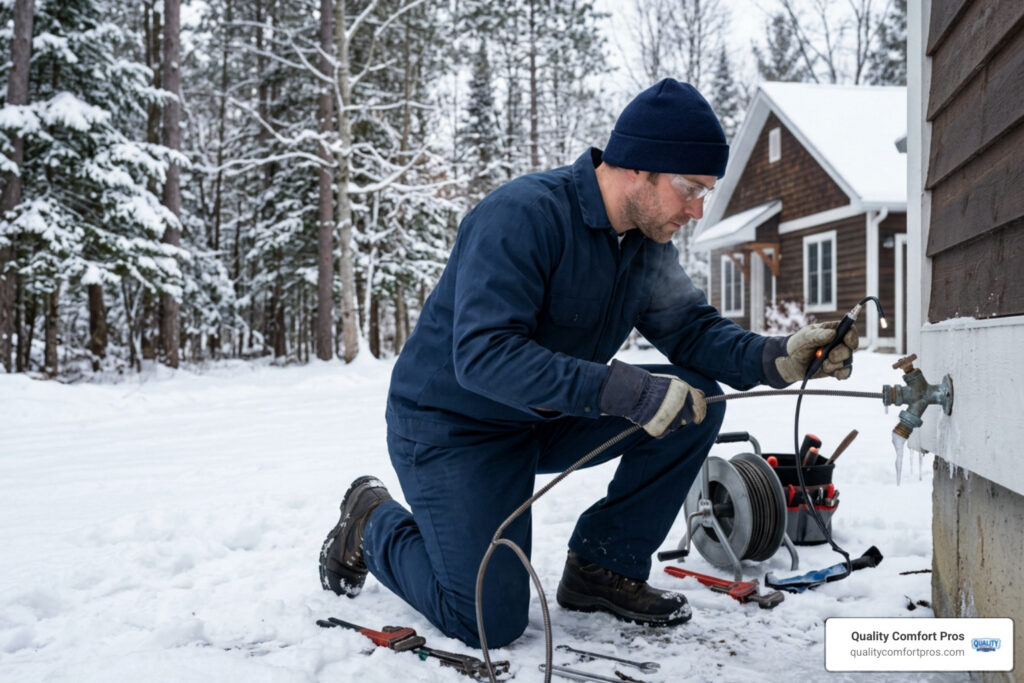
If an exterior faucet freezes before you have a chance to winterize it, act carefully to thaw it safely without rupturing the pipe:
- Open the spigot: Open the outdoor faucet handle fully. As the ice melts, steam and water need an open exit path to relieve pressure.
- Apply gentle, indirect heat: Use an electric hair dryer, heat lamp, or warm damp towels wrapped around the faucet body. Move the heat source back and forth evenly.
- Work from outside in: Start heating at the faucet body and slowly work your way backward toward the wall. This allows expanding water to escape through the open bib.
- Safety warning: Never use an open flame, propane blowtorch, or high-temperature heat gun. Open flames ignite wall framing insulation, create dangerous steam explosions inside sealed pipes, and violate standard safety guidelines established by organizations like the National Fire Protection Association.
If you discover a split pipe or active spraying leak, shut off your main home water supply valve immediately and contact the Quality Comfort Pros team for emergency plumbing services.
Frequently Asked Questions About Outdoor Spigot Winterization
At what temperature will outdoor faucets freeze and burst?
Outdoor faucets generally begin freezing when temperatures drop to 20°F or lower. However, if exposed to sustained freezing conditions of 28°F to 32°F for six consecutive hours or longer, standard uninsulated spigots can freeze and split, particularly when strong wind chills strip ambient heat away from exterior walls.
Can I leave a garden hose attached if my faucet is frost-free?
No. Leaving a garden hose attached to a frost-free sillcock prevents the internal barrel from self-draining. Water remains trapped inside the casing tube, where it freezes and ruptures the faucet body deep inside the wall cavity, leading to significant water damage once the line is turned on in spring.
How do I drain an outdoor faucet if there is no bleeder cap on the valve?
If your interior shut-off valve lacks a small bleeder drain cap, close the interior valve tightly and open the outdoor spigot fully. While some water may remain trapped due to airlock vacuum, opening the outside bib allows expanding ice to push outward harmlessly through the open fixture rather than splitting the pipe inside your home.
Is it better to drip an outdoor faucet or cover it during freezing weather?
For outdoor spigots, draining the line and installing an insulated thermal cover is far safer and more effective than letting it drip. Dripping an exterior faucet in sub-freezing weather often results in massive ice buildup and frozen icicles that block the drain opening, creating an ice dam that bursts the fixture.
How do I know if an outdoor faucet or pipe froze and cracked over winter?
The clearest sign is a lack of water pressure when you open the spigot in spring, followed by sounds of running water behind your drywall or damp spots on your basement foundation. Hairline fractures often show no symptoms while frozen, but release pressurized water the moment the line is recharged.
What should I do immediately if an outdoor faucet pipe bursts?
Locate and close your main home water shut-off valve immediately to stop incoming water pressure. Switch off electricity at the breaker panel if water is pooling near electrical outlets or appliances, open lower level sink faucets to relieve residual pressure, and call a licensed plumber to inspect and repair the line.
Can an uninsulated outdoor faucet damage pipes inside my interior walls?
Yes. Copper and brass are exceptional thermal conductors. Sub-zero temperatures transfer rapidly through the exposed outdoor spigot metal into connected indoor supply piping, freezing standing water several feet inside interior wall cavities, floor joists, and crawl spaces.
How much damage can a burst outdoor faucet pipe cause?
A burst water line can release hundreds of gallons of water per hour inside a home. Beyond standard pipe repair costs, extensive structural remediation, including drywall replacement, mold remediation, insulation extraction, and floor restoration, can cause tens of thousands of dollars in property damage.
How do I safely thaw a frozen outdoor spigot before it bursts?
Open the outdoor faucet handle completely so melting water can escape. Use a handheld hair dryer on medium heat or wrap the fixture in towels soaked in warm water, working slowly from the exterior spout inward toward the wall. Never use open-flame torches or extreme heating tools.
Should I leave the outdoor faucet valve open or closed after winterizing?
After shutting the interior valve and draining the line through the bleeder cap, leave the exterior outdoor faucet handle slightly open throughout the winter. Leaving the fixture open ensures that any minor moisture or condensation has room to expand safely without building pressure.
Protect Your Home with Timely Winter Plumbing Care
Taking fifteen minutes in early autumn to disconnect hoses, isolate supply lines, and install insulated covers protects your property against the hazards of frozen, burst pipes. This quick seasonal chore prevents messy disruptions and protects finished walls, ceilings, and basements from costly water damage during harsh winter freezes.
For 28 years, Quality Comfort Pros has provided reliable, family-owned home comfort solutions across Gaylord and Northern Michigan communities, including Petoskey, Boyne City, Charlevoix, Grayling, and Atlanta. Whether you need help addressing a stiff shut-off valve, upgrading aging fixtures to frost-free hydrants, or scheduling comprehensive plumbing winterization services, our licensed team is here to keep your home warm, safe, and protected.
Contact our professional plumbing winterization technicians today to prepare your plumbing system for the upcoming winter season!